HOW TO PAINT WHEELS
15” x 8“ NB Miata Wheels
SUPPLIES
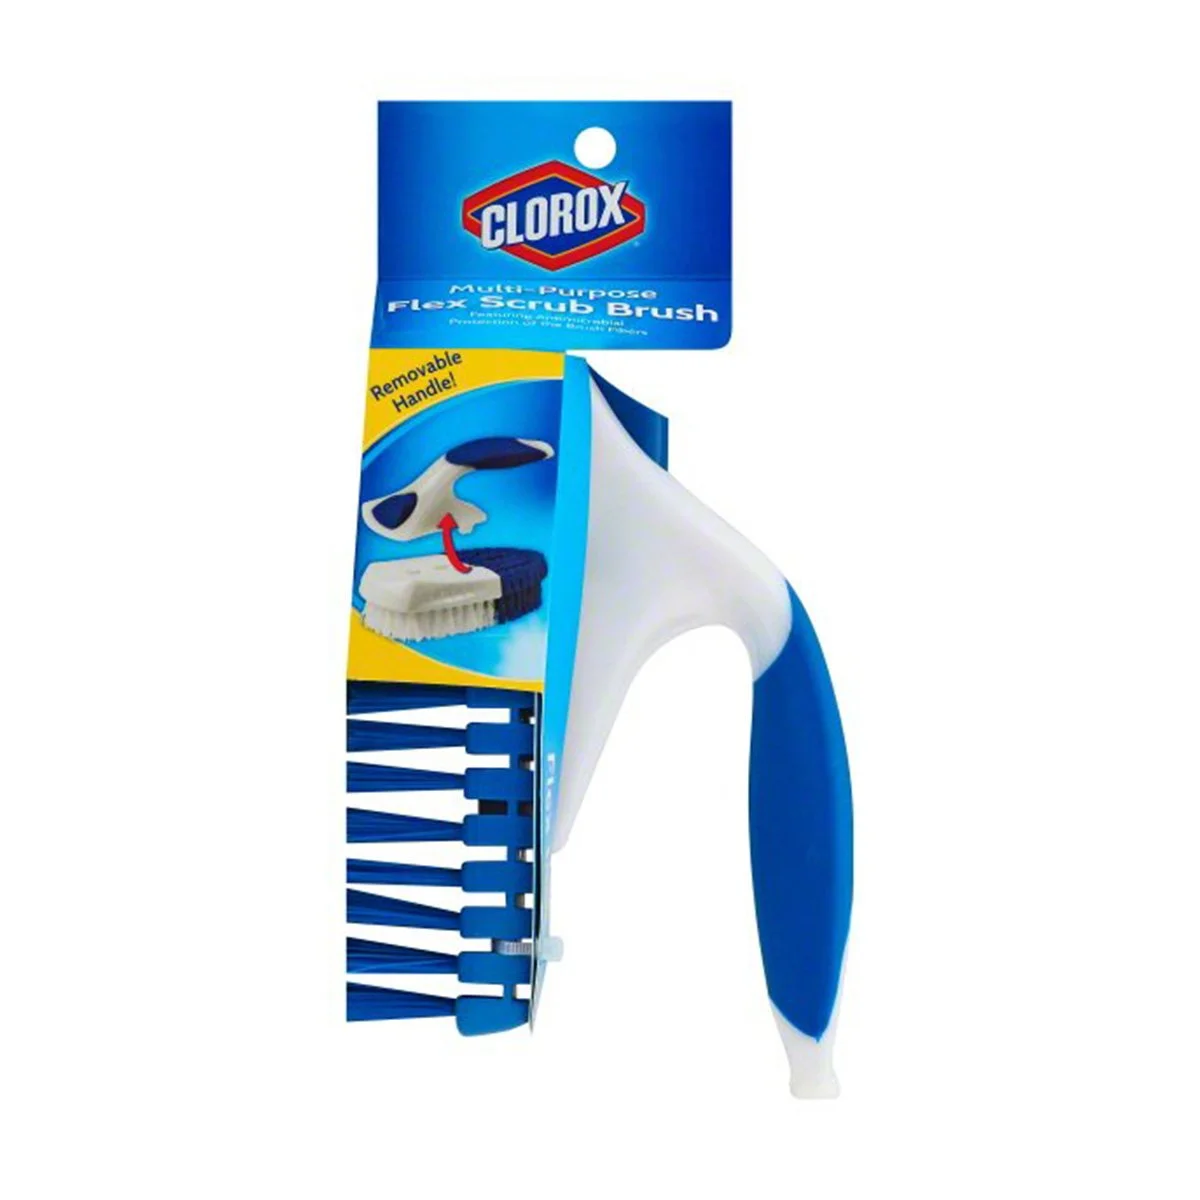
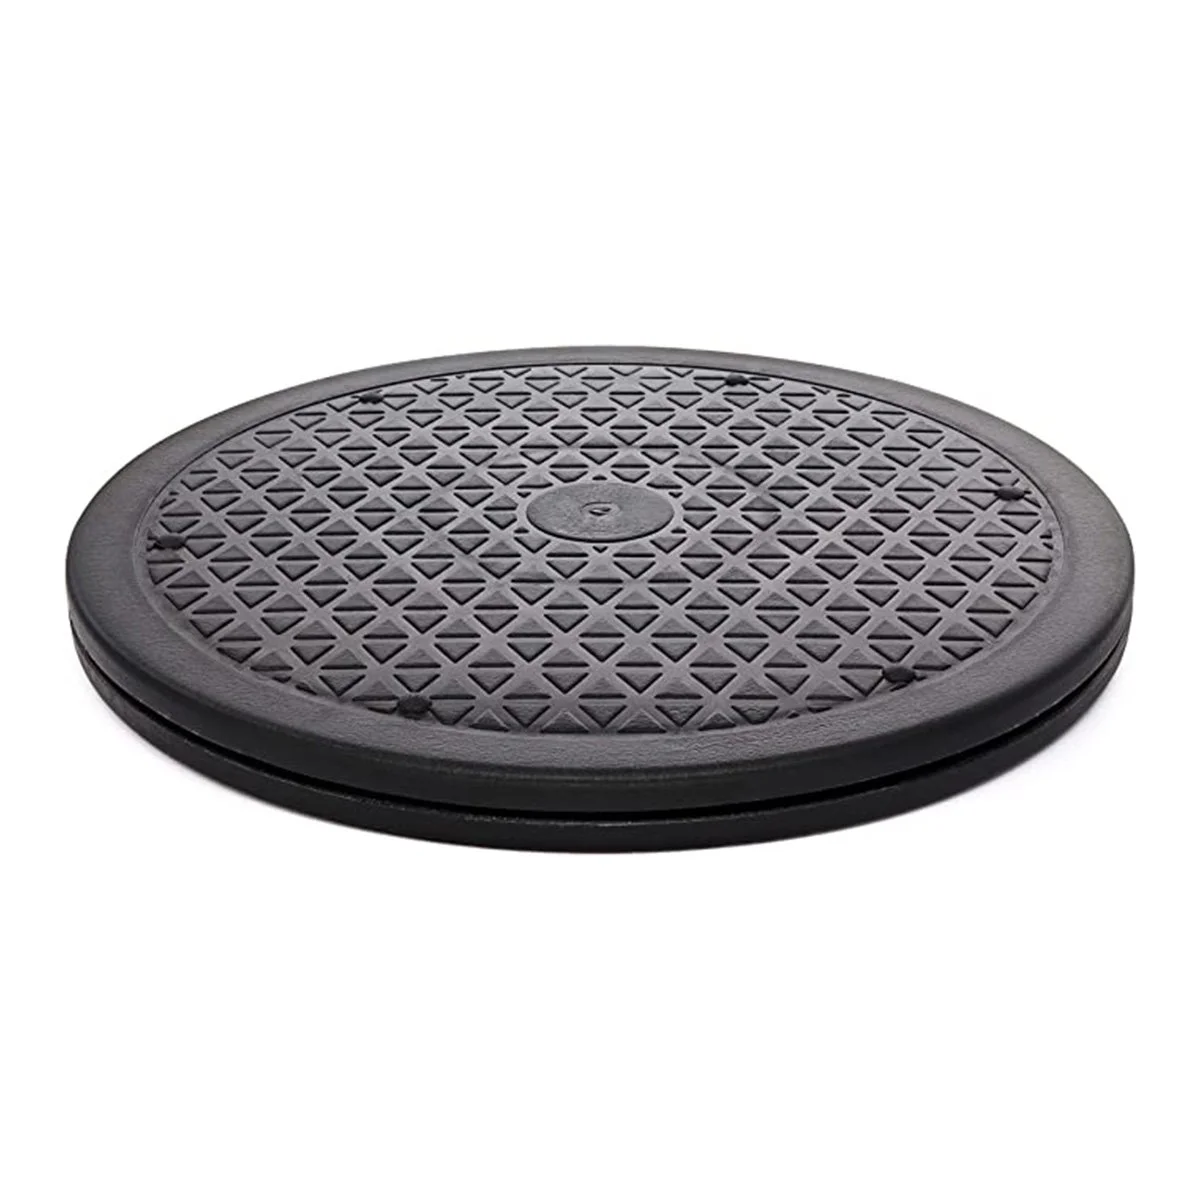
Scrub scrub scrub…
After cleaning this beautiful painted wheel, we left the wheels out in the sun to dry before we moved on to the next step. (really.. we were watching youtube and doing some research during that time before moving on)
Scuff scuff scuff…
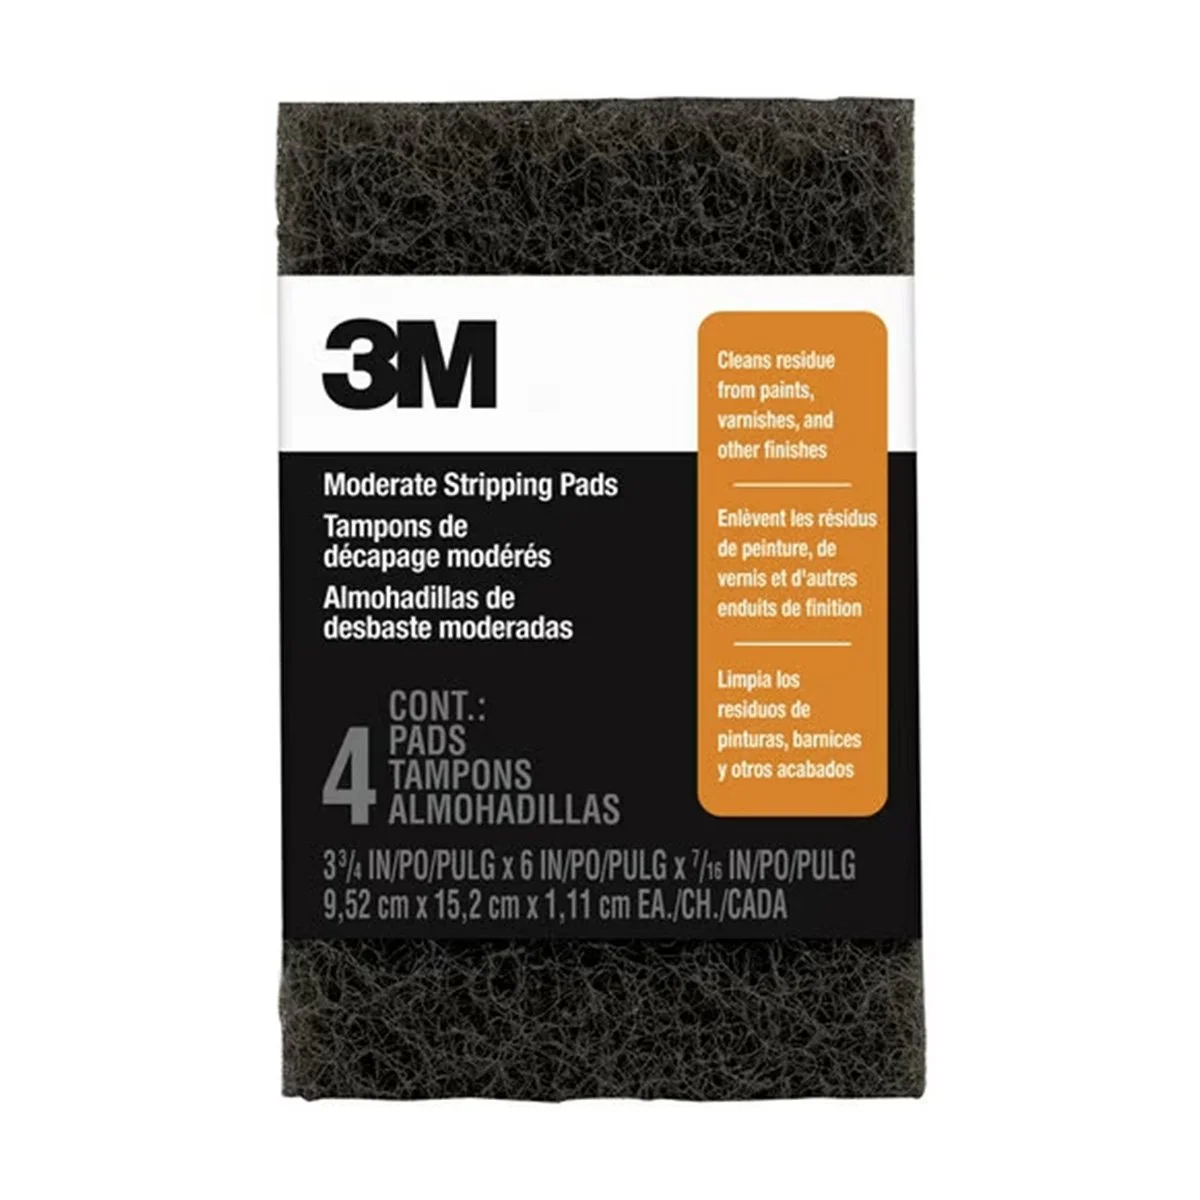
There were so many different opinions about which grit of pad to use. So we got whatever was available in stores at the time and that was the 3M Stripping Pad. Be sure to scuff as much of the area as you can, even in the tiniest crevices so the paint will adhere properly EVERYWHERE! We did a mixture of dry and wet sand before priming. I didn’t see the need to wet sand beforehand because it took time to dry completely before continuing to the next step. (I was just excited to start painting and see the final piece)
Before painting, spray glass cleaner on a cloth and wipe down the wheel and then wipe down with a tack cloth. Something I learn about tack cloth during this process… Once you open the tack cloth, you’re supposed to let it air out before use. I had no idea that was a thing!! And of course, it adds more time to the process…. I don’t like waiting… We let the cloth air out for about 15-20 mins to remove the oils, then we lightly wiped it over the wheel.
Time for paint!!!
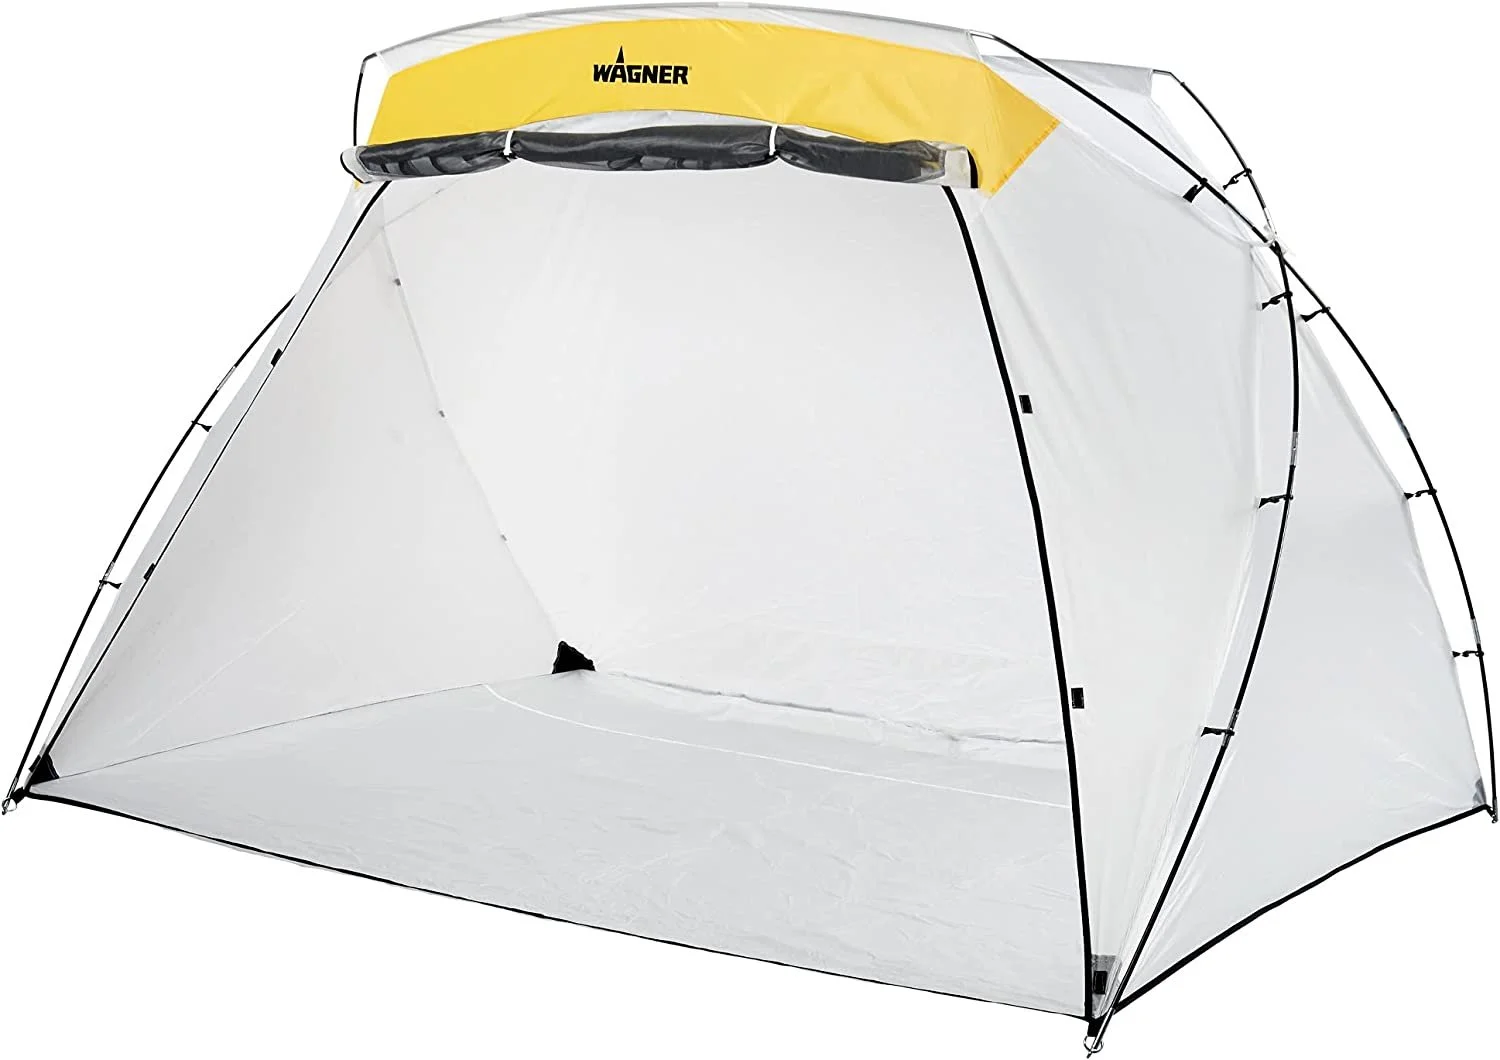
This paint tent was extremely helpful during the night to avoid bugs and such. When it came time to close the tent, the only issue we had was the lack of height. Only small children would fit standing in this tent, so of course we had to kneel while inside to avoid back pain. We mainly wanted/needed the tent to avoid overspray. Lots of wind outdoors would like to avoid it.
Primer…
Before starting, be sure there is no paint build-up on the nozzle of the spray can and test.
We waited 10 min before every coat or whatever the provided instructions say. If the paint looks gritty between coats, wait 20 min and then wet sand it with 800 grit sandpaper. Once smooth wipe the wheel with glass cleaner. After however many coats (3-4), wait 1 hour to dry before moving to color. We let it set over night before moving on to color.
Green means go!!
Oh, boy did that paint STINK!!!! It smelled extremely toxic but looked amazing!! If you go with that brand of paint, be sure to get a respirator mask, regardless you should have one when working with any paint.
We waited 10 min before every coat or whatever the provided instructions say. We used two cans of paint to complete two wheels only. In total… we used 1 can of primer, 2 cans of color, and 1 can of clear coat.
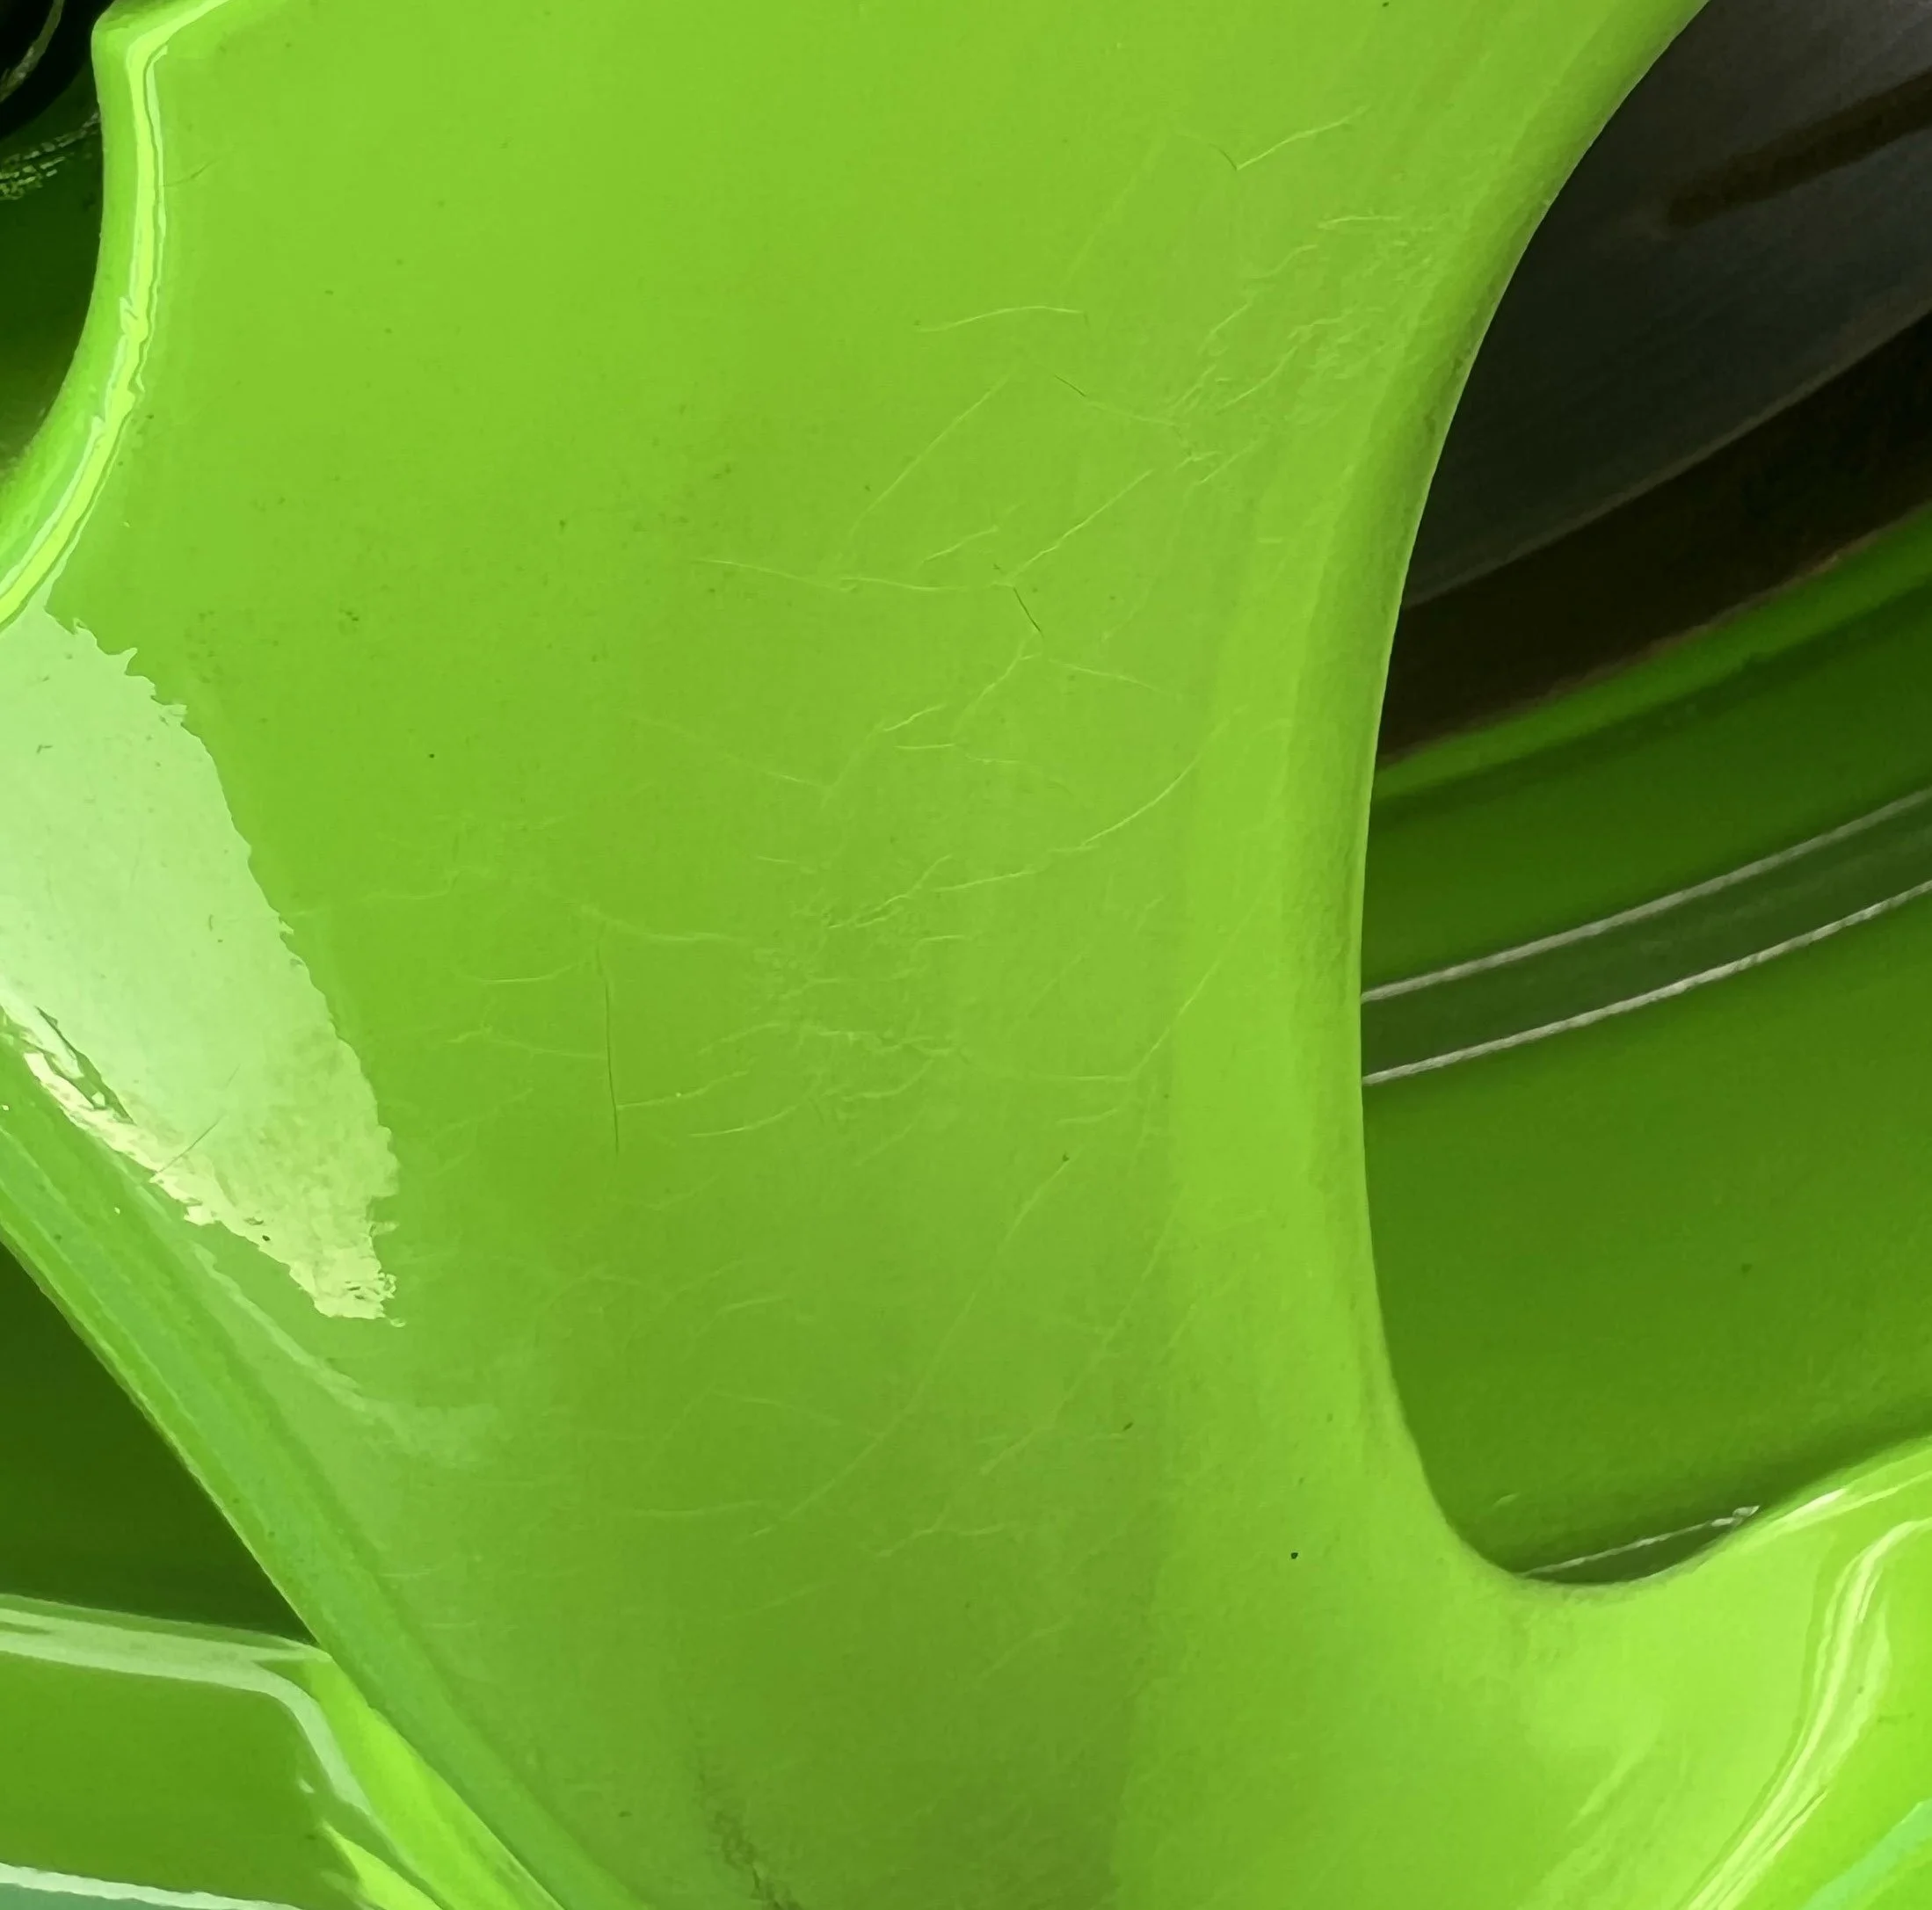
Unfortuenlty we rushed this process due to the smell and discomfort within the tent. So we did not wet sand between each coat, and I wish we did to avoid the orange peel look in the end. Even though this paint includes a clear coat, we still added a clear coat on top of it… and I’m happy we did! For whatever reason, over time the green paint crackled under the clear coat. BUT, it did not chip at all!
As for the clear coat, take your time, after the second or third coat it will smooth out, it’s a process.
FINISHED
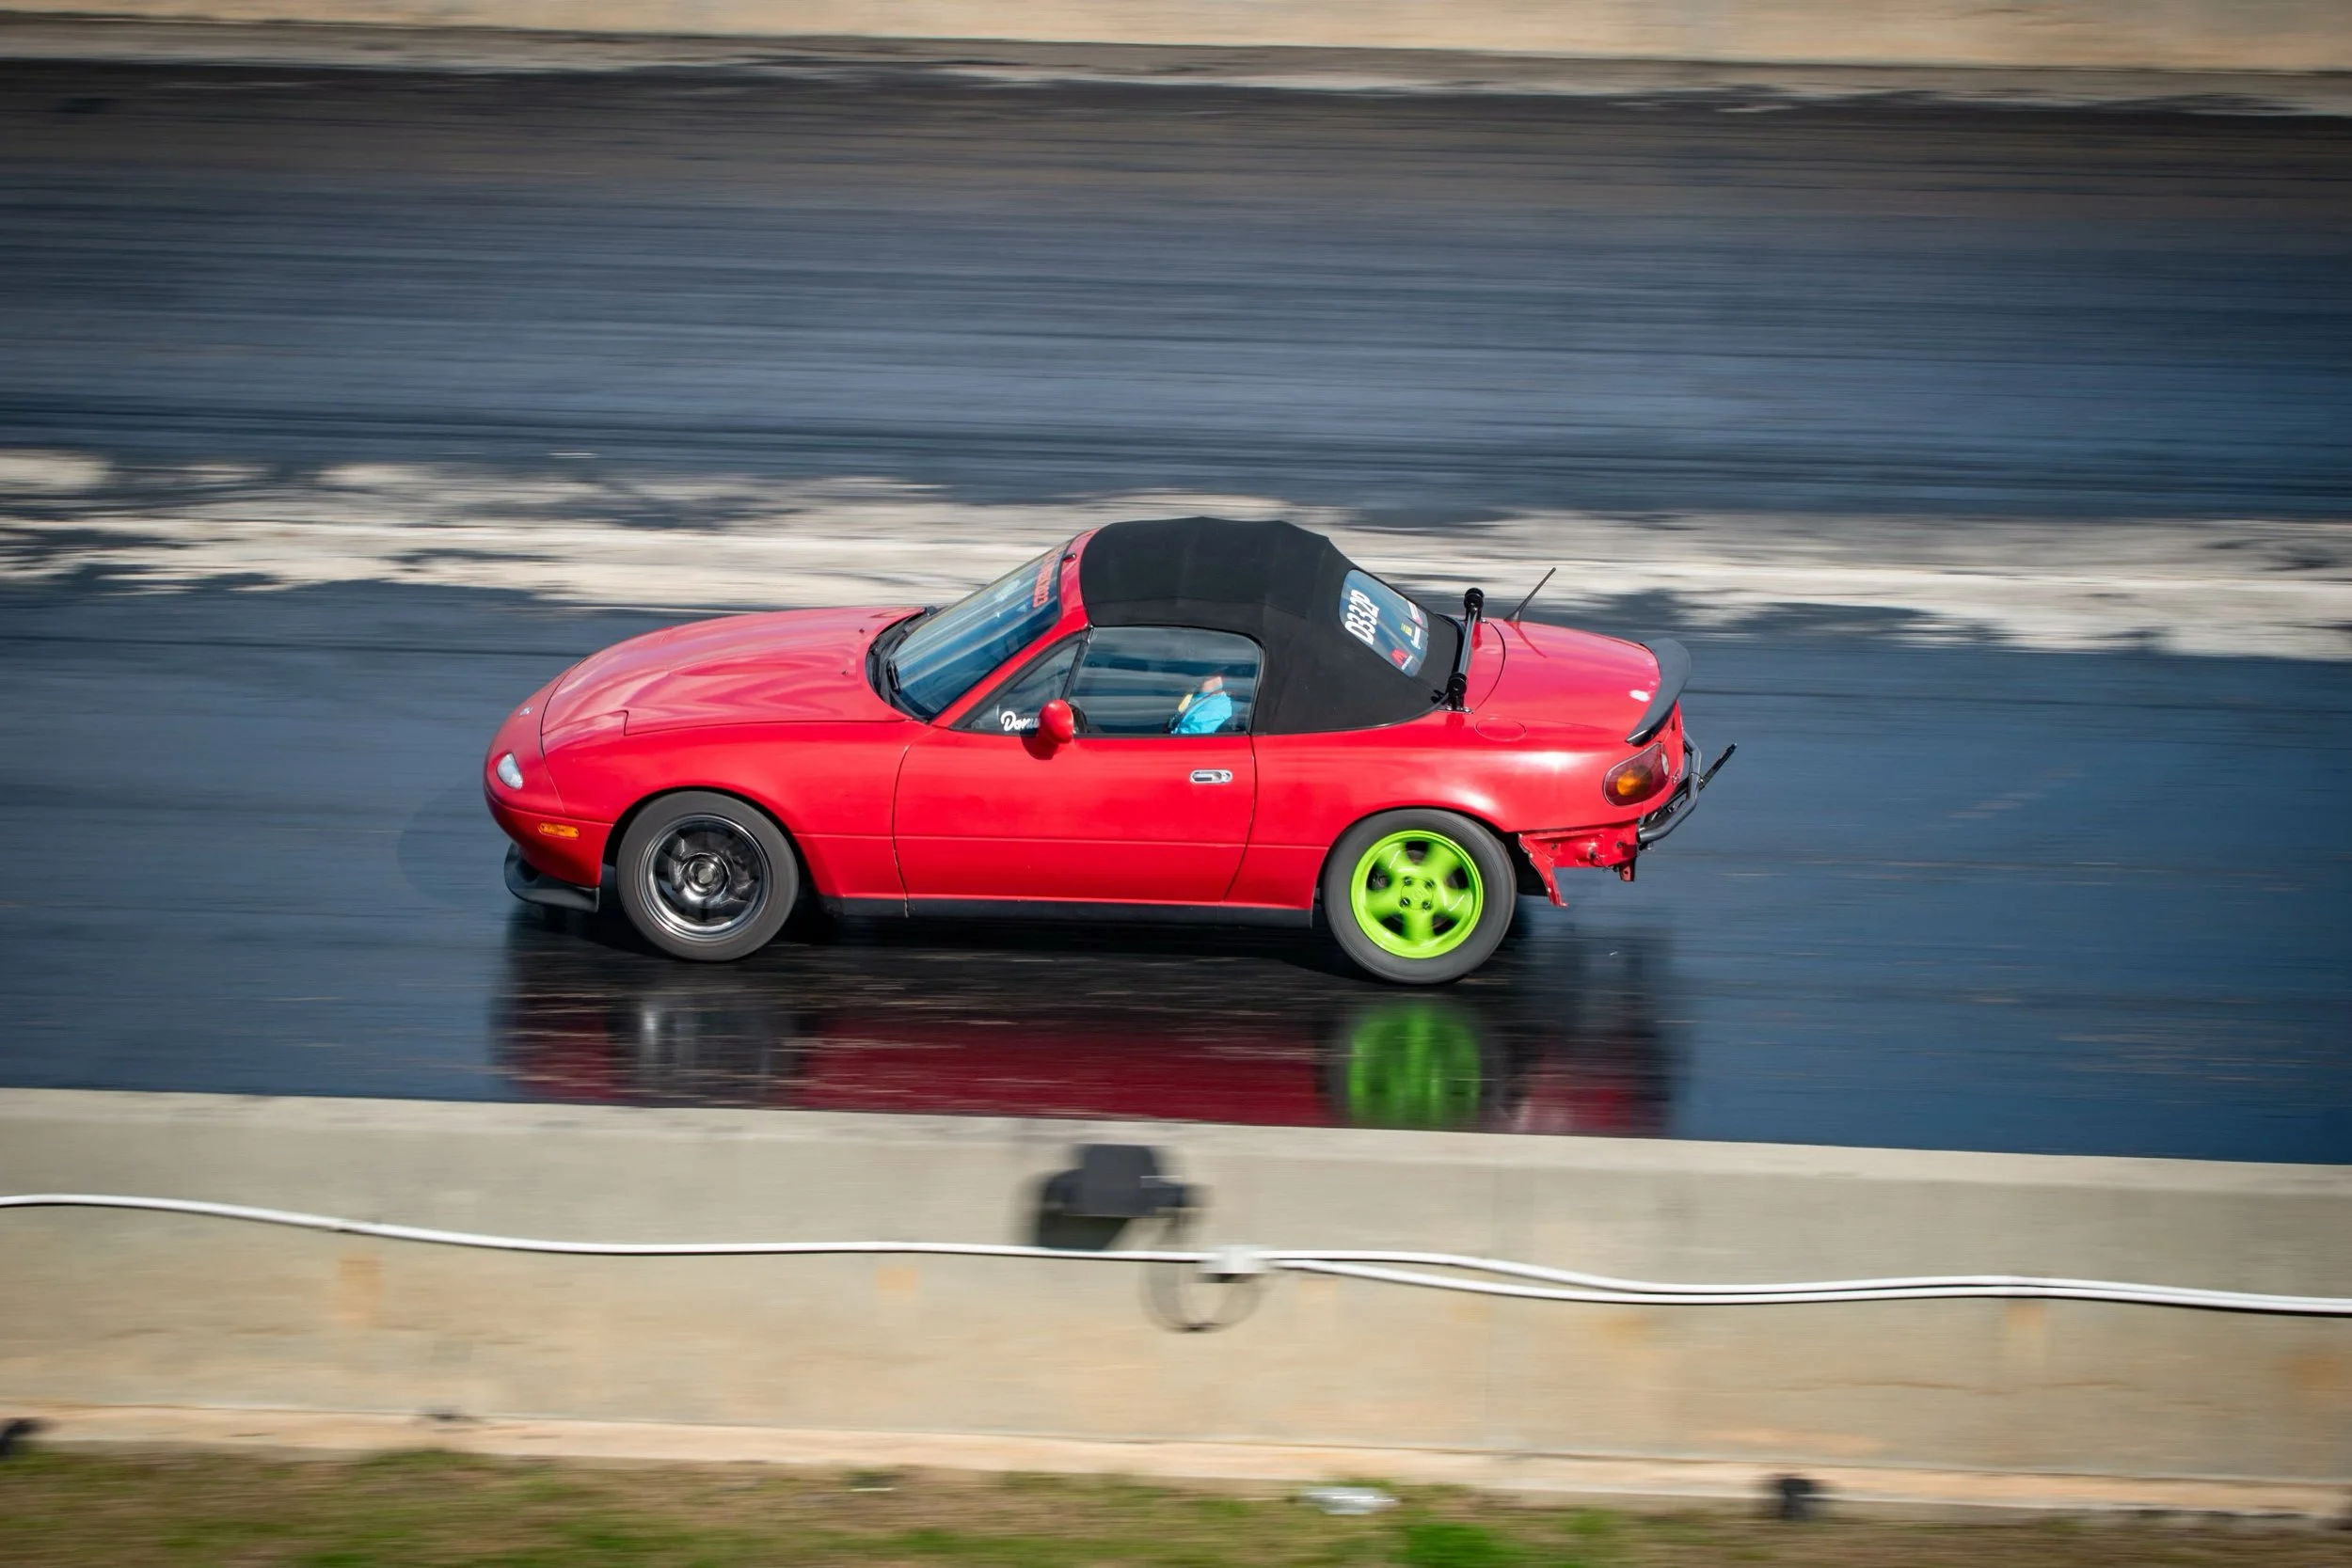
These wheels survived Sick Week, a drag and drive event. About a 1,000 mile trip. Sure the wheels were on a roof rack for most of the trip… but they were outdoors the entire week with all the elements (no rain, luckily for the trip). No chips but only the little crackles under the clear coat!


